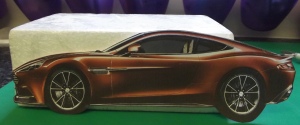
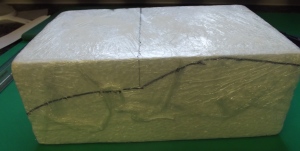
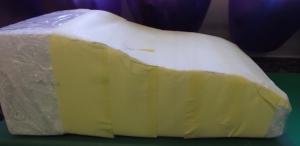
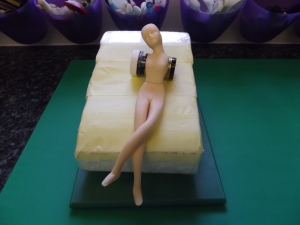
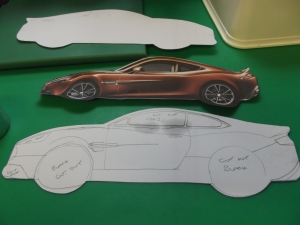
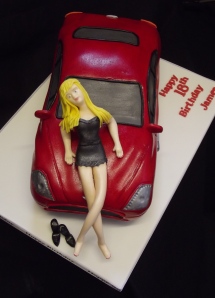
This cake was for an 18th birthday, and had to be rich chocolate cake, so I used a recipe for chocolate fudge cake as this is much denser so better for carving. They also wanted a model draped on the bonnet, so I first had to make the model to allow it drying time. In order to ensure the model sat on the bonnet, I made a template from polystyrene, by shaping it to a picture I had printed from the intranet, to give me the correct slope of the bonnet.
This way I was able to sit the model on the bonnet whilst waiting for it to harden.
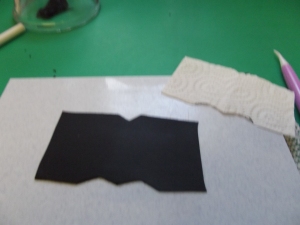
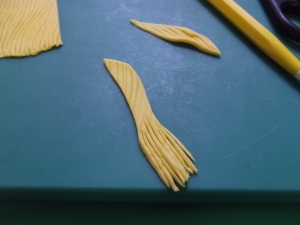
As the model was not standing I was able to make it without any inner supports, so it could be eaten if required. I made a very short dress by using kitchen paper to create a template, because it is soft enough to fold around the model to check the fit. Once happy it was ok I cut the outfit from black sugarpaste. I coloured some more sugarpaste yellow for her hair, leaving it long so it draped over her shoulders, to hide the joins where her arms fitted! After painting her features, I left her to dry.
I then moved onto making the cake – I generally make my cakes around 5 days before they are needed – this gives me time to do whatever I need to do, but also ensures they are still lovely and fresh for the customer.
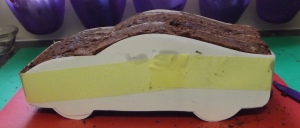
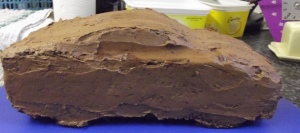
I split the fudge cake & filled it with ganache – this is much easier than shaping the cake then splitting it – it also means the cut-offs are filled, much to my husband’s delight!
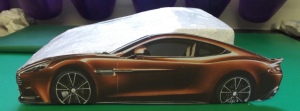
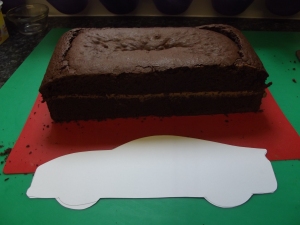
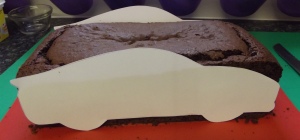
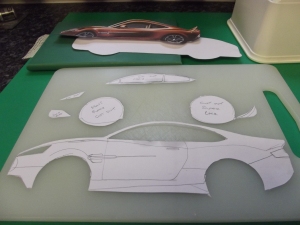
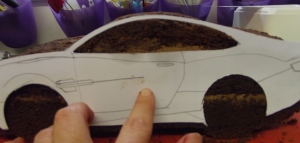
I slightly enlarged the template I had & cut it out from thin card, copying it so I had two to use for the back & front of the cake. Using masking tape I secured the two templates to the cake so I could sculpt it.
I then cut out the windows & wheels from the template so I could use them later, and crumb-coated the whole cake with more ganache, smoothing it a little with a damp pastry brush – this makes sure the sugarpaste goes on smoothly.
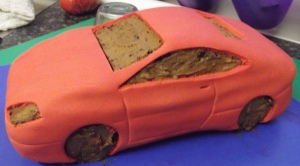
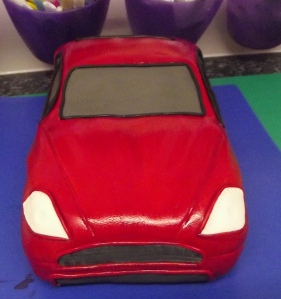
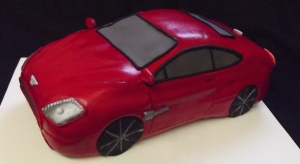
I coloured some sugarpaste red and coated the cake, smoothing it by hand to create the curves of the Aston. It is also important to put any lines into the cake now before the paste dries, or it will crease.
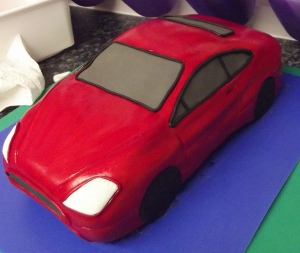
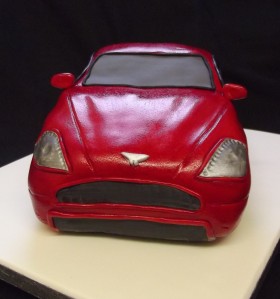
I used grey sugarpaste for the windows, cutting out the openings in the sugarpaste using the templates, then using them again to cut the windows from the grey sugarpaste. I edged the windows with black sugarpaste. Using the same technique I made the headlights, using white sugarpaste which I then painted with edible silver paint.
To get a metallic-effect finish I mixed confectioners glaze with red edible dusting powder. This glazes the car but also gives a lovely deep red finish to the icing.
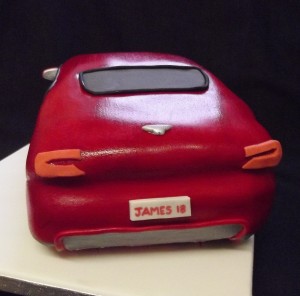
I then added the Aston Martin signs on the bonnet & boot, the rear lights & number plates.
All that remained was to position the model on the bonnet, complete with shoes!!
To see this and all my other cakes visit my website at http://www.cakesindividuallyiced.co.uk, or my FaceBook page, http://www.facebook.com/cakesindividuallyiced.co.uk



You are very talented 🙂